Kuldra/Strategies
This is a strategy guide to defeating Kuldra. Depending on the player's world difficulty, please refer to the relevant strategy section.
Inventory Preparation
Kuldra is a power level 9 boss monster of the Scorned Wilderness raid.
Foods/Drinks
For your fight against Kuldra, may it be first or multiple encounters, you'll want the following suggested items in your key bind hotbar slot or inventory:
- Stuffed Catfish which restores 200 health per consumption.
- It is suggested to also have the Undead Delight which restores 180 health and grants the Sea Life perk, regenerating 3 health every second 1,200 seconds (20 minutes.)
- If you wish not to grind for Undead Delight, Eggs Royale also grants the Sea Life perk and heals 120 health.
- It is suggested to also have the Undead Delight which restores 180 health and grants the Sea Life perk, regenerating 3 health every second 1,200 seconds (20 minutes.)
- Use any infusions that buff your combat style.
- Infusions do not stack, so pick one that reduces stamina on your combat style action, or dodging.
- Or you can drink the Pumpkin Spice Infusion for the Soul food perk, to have it and Sea Life active. (Soul Food perk will not stack if it is from another food.)
- In the final phase, Antipoison Potions can be useful. As the incoming attacks are new and the summoned mobs can easily combo a player out, Super Antipoison Potions may be excessive, so the standard 300s duration can suffice.
Optional additions
If fighting in hard difficulty, or wanting to speed up the fight in normal difficulty, it is advised to have these items:
- Whetstone enhances any melee weapon held by +2 for ten minutes.
- In addition, lesser Attack potion can be added for the Focused Strikes perk for ten minutes.
- Magical Focus enhances staff and wand damage output from spell attacks by 15% for ten minutes
- In addition, lesser Magic potion can be added to increase the chance of landing critical hits with combat spells by 25% for ten minutes.
- Super Antifire Potion to grant Antifire perk to defend against her energy breath.
Runes and Spells
Although Kuldra cannot be attacked directly, her Dragon Hatchlings can. They have the same resistance as regular dragons.
You can also use spells to enhance your abilities against Kuldra.
- Surge would allow you to dodge attacks at a greater distance three times, costing no stamina.
- Tempest Shield for melee, crossbow and wand users, as it blocks more variety of attacks, even unblockable ones.
- Enchant Weapon: Air to increase the attack speed and damage of your equipped melee weapon if using melee.
- Spectral Arrows increases their damage done and is worth maintaining over the course of the fight if using Ranged.
Internal Alchemy is optional to have, as it is able to refresh active food and drinks buffs, but only if you're willing to spend about 4–5 seconds of casting time, which can leave you open for attacks.
Presets
Based on the player's preferred combat style, the inventory layout should appear like this:
Strategy Guides
Kuldra has a total of four phases, the first three requiring you to hit her with the device's blast a total of six times before she starts the next phase. Unlike previous bosses, Kuldra cannot be damaged by players themselves. Instead, Players must use the Anima Cannon to do enough damage on her before being able to enter her body and attack her heart.
Main attacks
Kuldra's many heads will have basics abilities fired on you as you are charging up the Anima Cannon. Her main head will shoot a beam of energy out of her mouth across the arena. After that, at random, each head will begin their attack before she does her beam attack again. Green will spit a sludge of poison; Red will shoot 5 fireballs into the air, landing in random areas while one of them is targeted where you last stood; White will shoot a lingering ice shard into the arena where it will attempt to freeze the player; and Blue will shoot lightning at your position.
Dragon Hatchlings
During the first three encounters, a Dragon Hatchling will fly into the arena each phase and attack you. They are just like regular dragons, though exactly like the (Air Skeletons) that grant Anima, killing them will grant you the anima element they carry to either activate the Anima cannon, or activate the Anima Orb Dispenser.
Phase 1
In this phase, Kuldra will use her main attack calmly, giving you enough time to dodge and plan your move. You'll first need to get rid of the blue dragon hatchling that will appear, as killing it will allow you to absorb water anima for the Anima Pylon and the dispenser. There is also a (element type here) Crystallized Anima for players to use for the dispenser. You will need to use the Anima Orb on the cannon twice and fire a total of 6 anima blasts at her. At the end of this phase, all hatchlings will automatically die. Commander Zilyana will then appear and summon a barrier around her (like in the raid) for your protection. Make sure you hide within it or you will take rapid damage from Kuldra's special attack.
Note: you can carry an Anima Charge and the (Orb) at the same time, allowing Players to quickly gather the Orb and then deposit their Charge to reduce time spent waiting for new orbs to appear.
Phase 2
At the start of this phase, you will be teleported to a new platform where you will need to repeat the same Anima Cannon process as before. Kuldra will start with her primary breath attack more aggressively and quickly, it is advised that you dodge and avoid them first before attempting to reactivate and use the cannon. Kuldra's red head attack will now do 7 spots of her fireballs; the green head will shoot two poison sludge at your previous position; the white will use two ice shards; and the blue will continue to shoot lighting (count the amount?). In this phase, a red dragon hatchling will appear. Killing it will allow you to absorb the Fire Anima in you for the pylon.
If you have multiple people, you can stagger Anima deposits by doing Fire into the first Pylon > Fire into the (Orb Spawner) > Air into the second Pylon, then gather Anima as needed and create/carry orbs from there.
Phase 3
At the start of this phase, you will be teleported to a secondary floating platform. If you happen to have a lingering Anima charge from the previous phase, you can deposit it into the Orb Dispenser. From here, jump to the platform housing the Anima Orb Dispenser. Continue platforming across two more floating islands to reach the main arena platform. Be careful of the attacks from Kuldra's various heads, as (at least the Lightning attack) they can interrupt you mid-jump.
Upon landing on the main platform, Kuldra will immediately launch all of her main attacks aggressively and simultaneously. Focus entirely on dodging these incoming attacks for the first few seconds before attempting to set up the cannon or manage hatchlings. Hatchlings will spawn shortly after this initial onslaught as either blue or red variants (double check spawning priority).
This phase features two distinct Anima Pylons: Water and Fire.
- Water Pylon: Collect an Anima Orb from the dispenser, insert it into the Water Pylon, and activate it. Doing so unlocks the gate leading to the Fire Pylon.
- Gate Skip (Optional): You can skip opening the gate by using the Windstep spell on the broken pillar to the right of the gate, then jumping over the stone wall. Note: You must be imbued with Fire Anima before jumping over the wall. To return from the Fire Pylon back over the wall, jump on the green gems located to the left.
- Fire Pylon & Cannon: The Fire Pylon already contains an Anima Orb. Activating the Fire Pylon fully powers the Anima Cannon.
Once the Anima Cannon is online, load and fire it at Kuldra. After taking sufficient damage (6 hits), Kuldra will be stunned. A bridge will be created that leads directly to her platform, where you can 'Enter' the main head's mouth to begin the final phase.
Phase 4
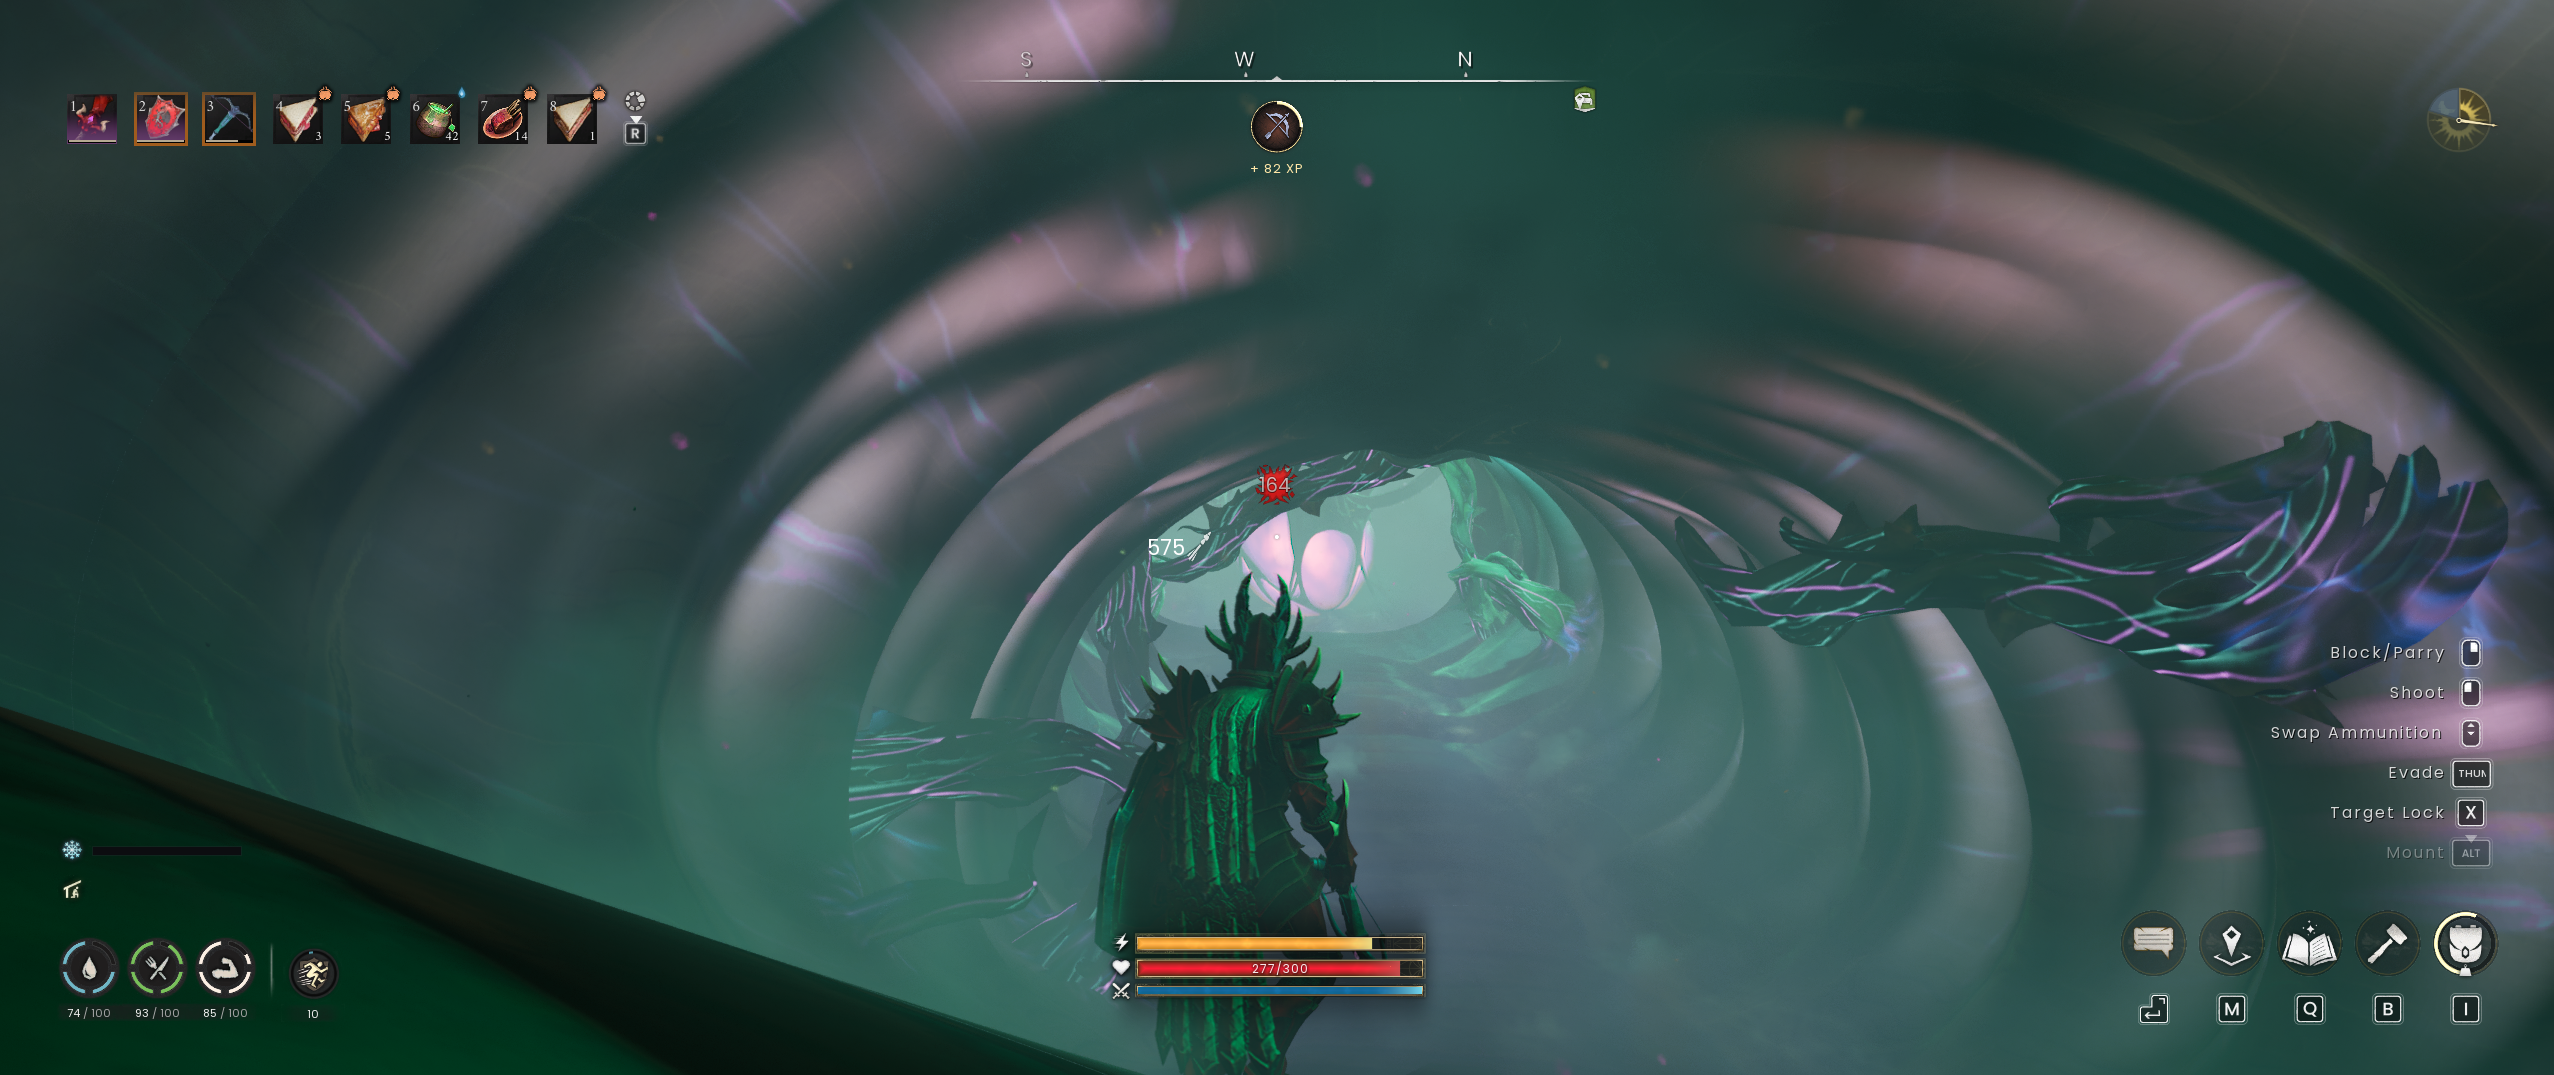
The final phase has you entering Kuldra's body and attacking Kuldra's Heart. In here, you will have to reduce the Heart to 0 hp, while handling the various Heartworms (do the Heartworms cause the Earth Spike attack?) that spawn as well as the Poison AoE attacks. Without the worms (verify if poison attacks only appear without worms), Kuldra can use poison explosion to damage the player, so it is advised that you use activate your Antipoison II buff and dodge. The lower her HP, the more explosions she causes. Additionally, keep an eye out for the worms as they do respawn. Once you see the hp reach 0, run to the exit as fast as you can. (specific ). There exists a safe spot within the tunnel entrance that allows Players to safely attack the Heart with ranged or magic, letting them avoid most of the poison explosions, with Heartworms rarely/occasionally spawning in the tunnel.
Poison Attack Pattern
- (when within the main field)
- (when within the tunnel)
Źródło: Zobacz na oficjalnej wiki (Treść pochodzi z RuneScape Wiki, CC BY-NC-SA 3.0)