Scorned Wilderness
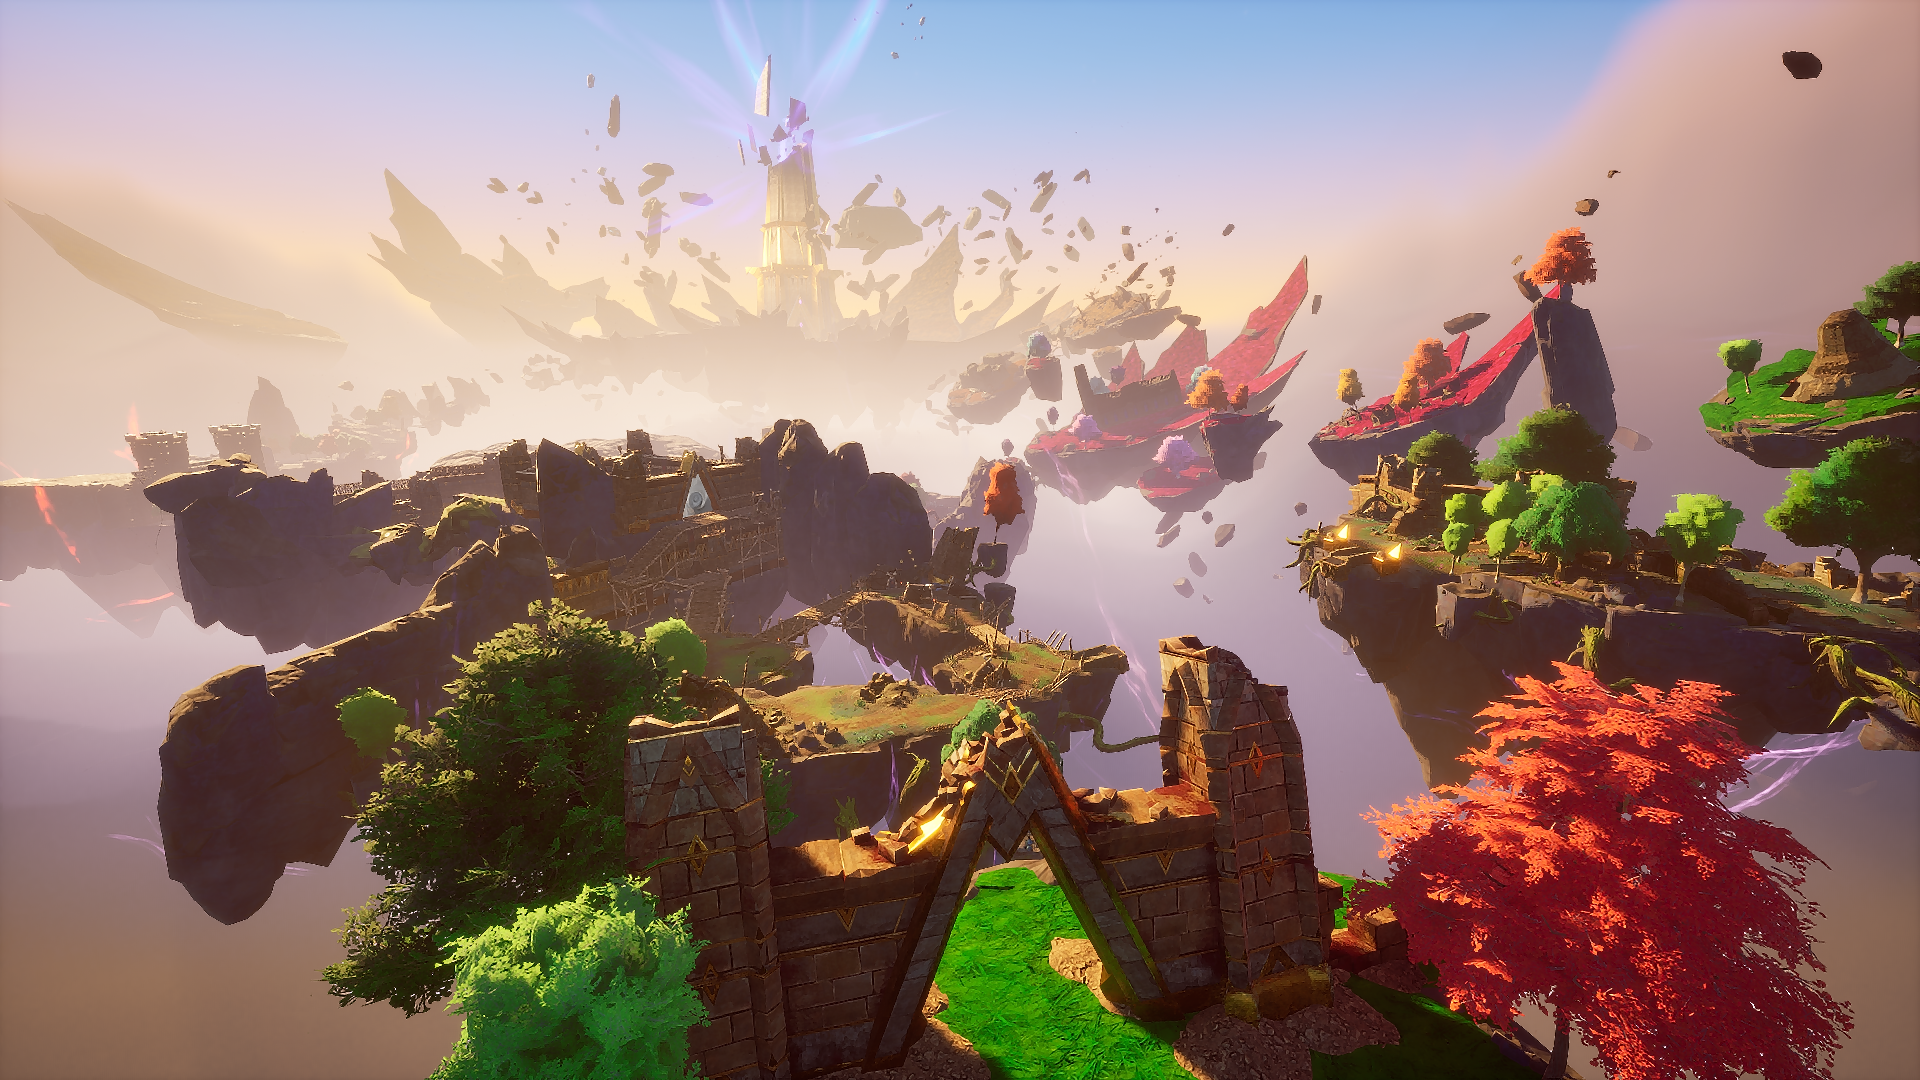
The Scorned Wilderness is RuneScape: Dragonwilds' first raid. This raid contains the Dragon Queen Kuldra as well as all monsters you have previously encountered.
In order to enter this zone, players will have to first complete the quest Icthlarin's Little Helper and start the Regicide quest. The entrance to the zone is located in the north-western area of the Fractured Plains in Ghornfell.
History
After arriving to Ashenfall, the Dragonkin created a device called the Harmonic Resonator within the area now known as the Scorned Wilderness. The device's purpose was to gather raw anima for the Dragonkin, who would create an empire with it. Centuries after the creation of the device, Rasthin would activate it to destroy Kuldra, shattering the land. Kuldra survived, and now hunts for the pieces of the device to activate and lay waste to the rest of the world.
Raid Info
Rasthin's Rest
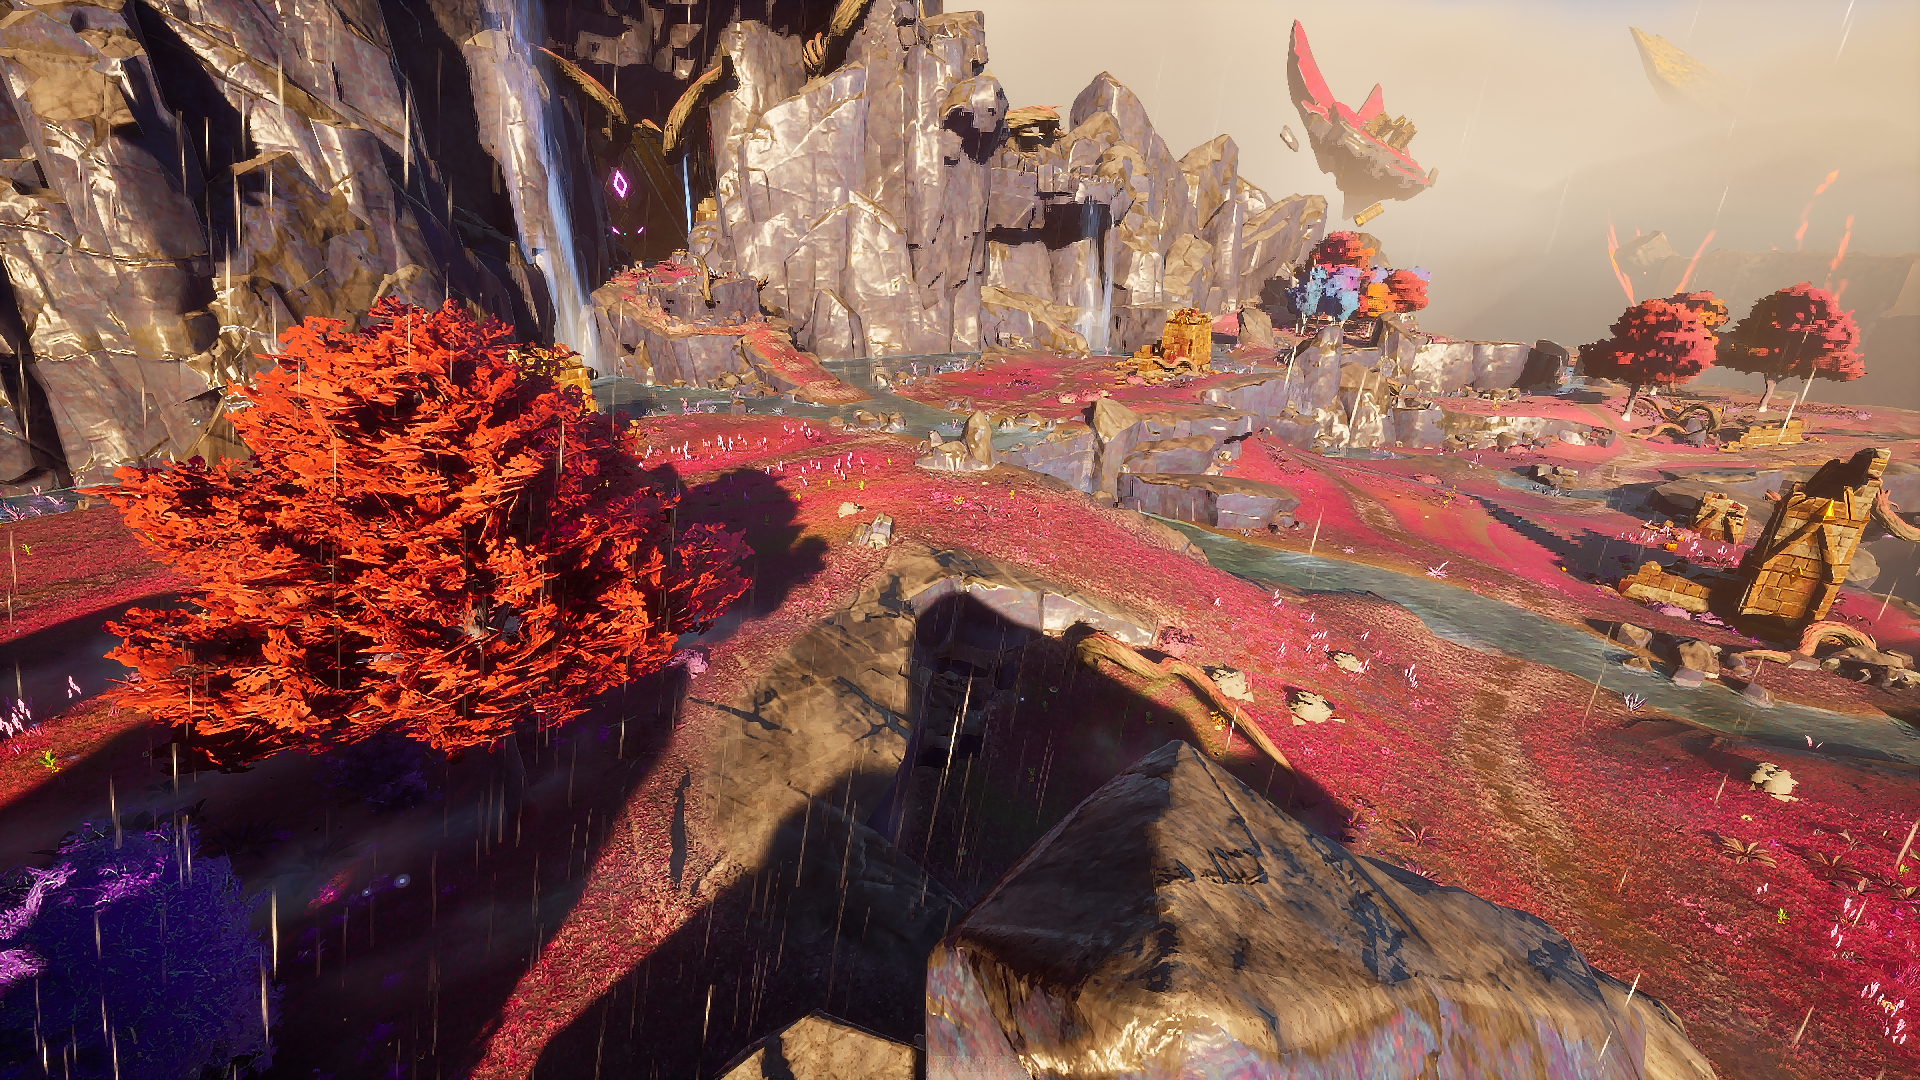
This area of the Scorned Wilderness is the only buildable area in the entire zone. It is considered a safe hub, where players can build a base to return to when needing to rest, craft or repair. Players who make a bed here and as their spawn point will not experience any Warband Raids, being one of the few locations.
Dragontail Vines
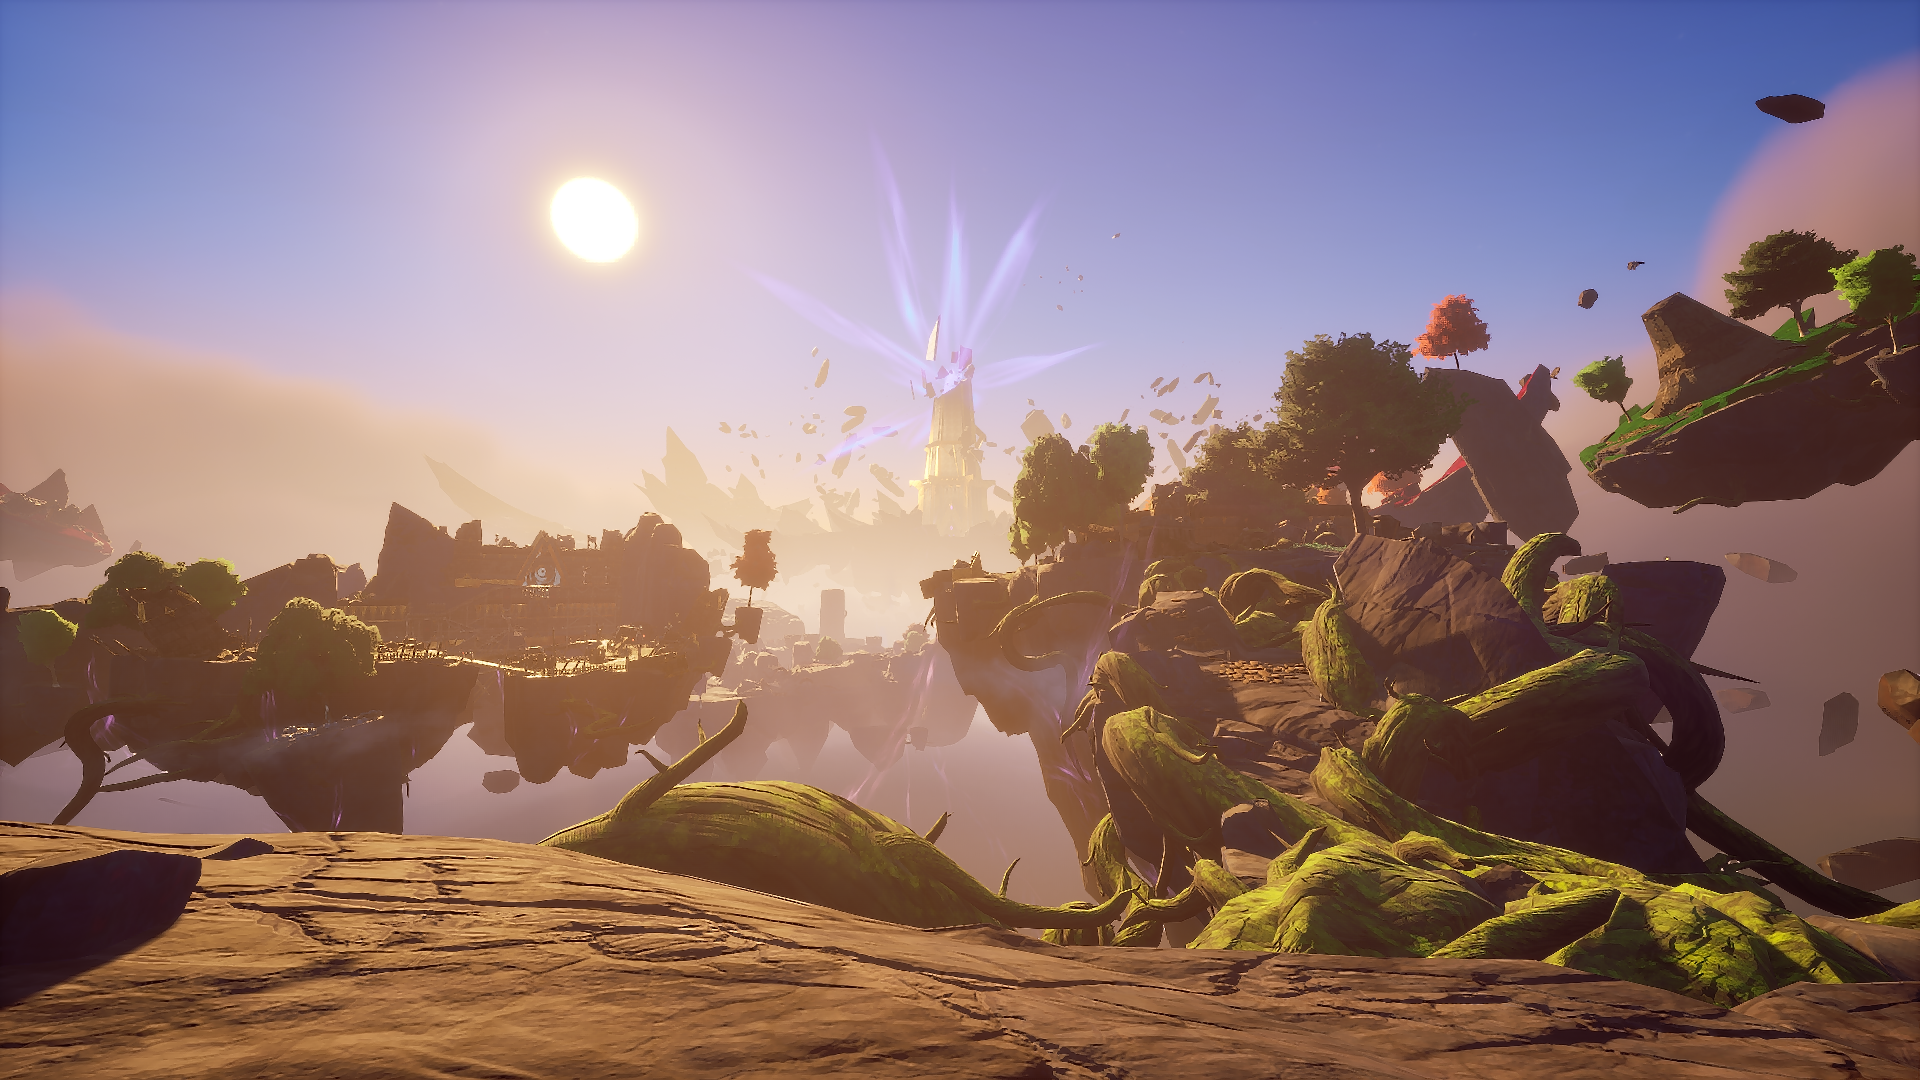
Head into Dragontail Vines and head up the path. You will come across Runite ore deposits and Luminite ore deposits along the way, so it is highly recommended that you mine some up. In order to progress further, you will need to charge up an Anima Pylon with air anima. There is a floating crystallised shard of anima behind you to your right surrounded by three runite ore deposits. Siphon the shard and fill up your charge meter all the way to gain thirty seconds of anima infusion. Head back to the pylon and charge it using the anima you have to unlock the pathway to the next area.
Head down the newly formed anima bridge to the next area where Kuldra will appear along with Zilyana. Kuldra will begin attacking you with an elemental attack, but Zilyana will appear and tells you to get closer to her so she can protect you from the attack. Once you are close enough to her, she will save you from the ensuing attack and, thus, opening the way further into her lair. In this area, she will use an attack to inflict Soulscourge.
Head up the way to a white barrier. This will require you to charge up with Air anima once more, with another air shard nearby to siphon, in order to pass through. When you pass through, you will encounter a black dragon along with some skeletal archers and zombies. Defeat them all to collect discordant residue. Aside from the residue, you will need to siphon some Earth anima next to pass through the barrier.
Once you pass through, head down the vine pathway to another area. This time, defeat the zombies in the area and siphon some water anima from a nearby water anima shard. Pass through the blue barrier and defeat the air-infused skeletal warriors to get enough air anima charged up to collect an orb from the Anima Orb Dispenser nearby. Go up the stairs and pull the nearby lever to unlock the path back around to the anima pylon. This pylon will require you to fill it up with anima again, but you can either fill it up with air or water anima to unlock the next area.
Go down the pathway and you will find a Zilyana Teleporter. Activate it and Zilyana will be able to take you back here if you choose the option "Fragments of Ghornfell" in the options. A small notification will pop up in the top middle of your screen saying that you have reached an extraction point.
Fragments of Ghornfell
Head further into the fragment and defeat the garou and goblins within the area. Once you have done that, head up the stairs to defeat another black dragon along with the garou thane, beserker, and goblin bodyguards. Once you defeat them, you will be able to use the central anima platform to attune to earth anima and unlock a nearby door. It is important to note that, beyond this door, lay a Sanguine Urn which can increase your total health pool by ten points. After collecting the urn, head back south down the stairs to continue through the fragment. There will be goblins and garou in this area, so prepare well. After clearing out all of the garou and goblins in the area, head up to the north-western tower and climb up the tower. Find a lever next to some thorny vines and interact with it. Chop up the vines too before going back down to the fire anima platform. Charge up your anima infusion meter fully and get up to the top of the tower within thirty seconds to acquire an anima orb from the dispenser.
With your new orb, head back down to the two anima pylons blocking the way into the next area. Use the orb on the broken anime pylon to activate it. Once you have done that, it will light up red. This means that, to open the way forward, you will need both fire and air anima. For the fire anima, head back to the platform mentioned earlier and charge up. As for the air anima, there is a graveyard nearby behind a barrier of water anima that you can use to lure the air-infused skeletons out of and kill to acquire a sufficient charge. Once you have charged both pylons, the way forward will open. Head into the church and turn left to fight against some skeletons, a necromancer, and an archer.
Clear out any enemies you see and head down the path. There is a route that is covered in poison emitters (like in the Bloodblight Swamp) and another path that is somewhat fragmented and covered in luminite. Either way will take you to a bridge that will lead you into an underground castle ruin. You will have to fight through numberous goblins, skeletons, some putrid rats, and an Abyssal Demon.
Note: There is another Sanguine Urn in this area that can be acquired, but requires some parkour to get to. It is on the way to the Abyssal Demon.
Once you have defeated the Abyssal Demon, head out and you will have another extraction point. Activate the teleporter once more to unlock this area.
The Shattered Stronghold
Blocking your way into this area is a water anima barrier. Use the nearby crystallised water anima shard to infuse yourself with a sufficient charge of water anima to pass through the barrier. Once you pass through the barrier, quickly run to Zilyana as she will protect you from Kuldra's attack. Once the attack is done, head into the nearby doorway near the water barrier. Enter through the doorway and you will come across a fire-breathing gargoyle statue that will spew flames for a moment. To the right is a pathway to a crystallised air anima shard surrounded by rats and a PL 9 Rat King. It is recommended to defeat the rats here before siphoning the shard as they will attack you while siphoning. Collect enough for a sufficient charge and make your way up to the floor above where the gargoyle statue is and pass through the air anima barrier on the other side of the walkway.
After passing through the barrier, head down the stairs and pull on the lever first before engaging in a fight with the rats and Garou Thane. They will be charged with air anima which can be used at the nearby dispenser to acquire an anima orb for the pylon. Once you get the orb, head to the pylon to activate it. It will require fire anima to charge, so head around the crumbled tower to a breakable wall. Use your pickaxe on it to destroy it and head inside. Siphon the earth anima shard and head up the stairs and turn right towards an earth anima barrier. Pass through the barrier and use the lever nearby to unlock a shortcut back and defeat the garou within before attempting to siphon the fire anima shard as they will have a PL 9 garou thane among them.
Return to the pylon with the fire anima charge and it will open the way to the next area. As there is a black dragon in this area and some wild jade vines, it is recommended to deal with the closest jade vine so you don't get poisoned while fighting the black dragon. Once you defeat the dragon and head further down the path, keeping in mind of the garou and wild jade vines in the area, activate the teleporter.
Cataclysm Keep
Unlike in the previous areas, this area is more fractured and has less safe areas. Walk across the roots and small land chunks, minding the garou thane, and traverse through the shattered pathways to the other side. Once you have gotten through the pathway, reaching the other side, head through the doorway. This will lead you into a room with three vault guardians (two hulk and one sentinel), which can be easily defeated. Head past this to a puzzle that must be solved in order to continue further.
In this area, you can find a Sanguine Urn. It will require you to solve a jumping puzzle in order to reach.
After you activate all of the pylons, you will need to press the buttons in order for the path to be opened. The order is as follows: Air, Water, Earth, and Fire.
Once you open the path, head up the stairs and reach the teleporter to activate it.
Kuldra's Sanctum
When you reach this zone, there are a few Runite ore deposits along with Luminite ore rocks in this area as you reach closer to the Dragon Gate. Interact with the gate and you will be taken into the boss arena where you will face Kuldra.
NPCs
Resources
Nodes
Trees
Plants
Other
Creatures
Bosses and Mini-bosses
Aggressive
Non-Aggressive
Quests
Nothing discovered yet...
Journal
Nothing discovered yet...
Music
Nothing discovered yet...
Gallery
-
.png) Scorned Wilderness Concept Art
Scorned Wilderness Concept Art -
.png) Kuldra's boss stage in the Scorned Wilderness
Kuldra's boss stage in the Scorned Wilderness -
.png) Scorned Wilderness shattered, Kuldra surviving
Scorned Wilderness shattered, Kuldra surviving -
Concept art for the Scorned Wilderness
Trivia
- Prior to the release of Umbral Sands during the Early Access of RuneScape: Dragonwilds, Scorned Wilderness was considered a region until it was revealed to be a raid.
- Unlike RuneScape's first Raid, Liberation of Mazcab, or Old School RuneScape's Chambers of Xeric, the Scorned Wilderness takes place on floating islands held aloft by the wild anima of Ashenfall.
- Liberation of Mazcab takes place on the world of Mazcab and players must use the Grouping System to take part.
- Chambers of Xeric takes place beneath Mount Quidamortem and consists of a random selection of rooms filled with creatures and experiments left behind by Xeric.
- The very first teaser reveal for the physical location of the Scorned Wilderness was from a cloth map meant to be part of a physical deluxe edition of the game.
References
Źródło: Zobacz na oficjalnej wiki (Treść pochodzi z RuneScape Wiki, CC BY-NC-SA 3.0)