Mining training
 This page details the optimal training methods for levelling up Mining. Unlike its predecessors, Dragonwilds does not require specific Mining levels to equip pickaxes or mine ores.
Equipment
Equipment slots
| Category | Items progression (Late Game → Early Game) | ||||||
|---|---|---|---|---|---|---|---|
| Pickaxes | 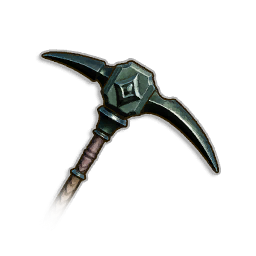 Adamant Pickaxe Adamant Pickaxe
|
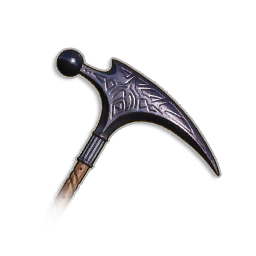 Mithril Pickaxe Mithril Pickaxe
|
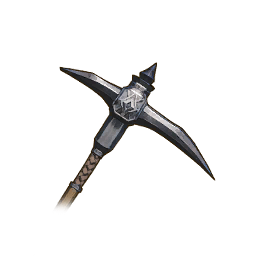 Steel Pickaxe Steel Pickaxe
|
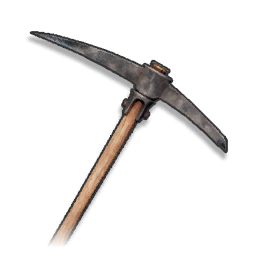 Iron Pickaxe Iron Pickaxe
|
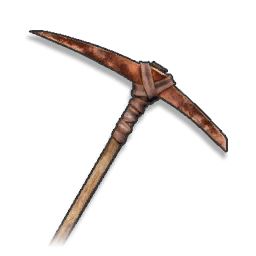 Bronze Pickaxe Bronze Pickaxe
|
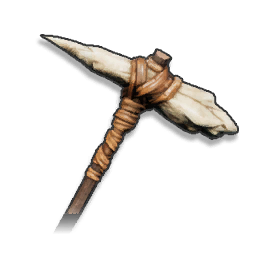 Bone Pickaxe Bone Pickaxe
|
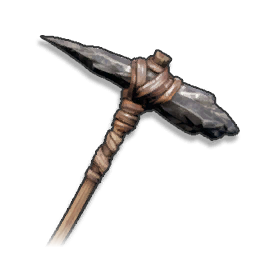 Stone Pickaxe Stone Pickaxe
|
| Head |  Infinity Robe Hat Infinity Robe Hat
|
 Mystic Hat Mystic Hat
|
 Splitbark Helm Splitbark Helm
|
 Dark Mage Hood Dark Mage Hood
|
 Wizard Hat Wizard Hat
|
 Apprentice Hat Apprentice Hat
|
N/A |
| Body | 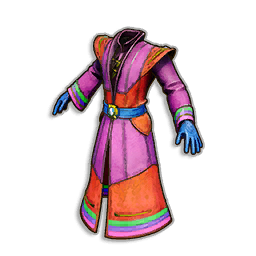 Infinity Robe Body Infinity Robe Body
|
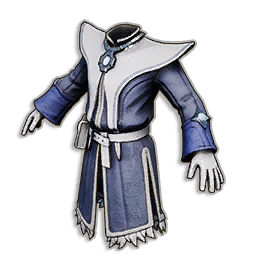 Mystic Robes Mystic Robes
|
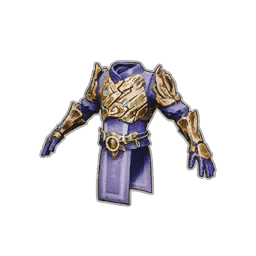 Splitbark Body Splitbark Body
|
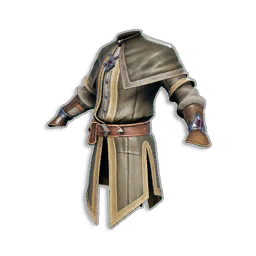 Dark Mage Robes Dark Mage Robes
|
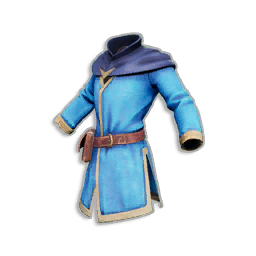 Wizard Robes Wizard Robes
|
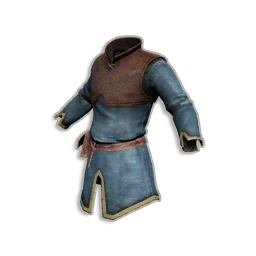 Apprentice Robe Apprentice Robe
|
N/A |
| Legs | 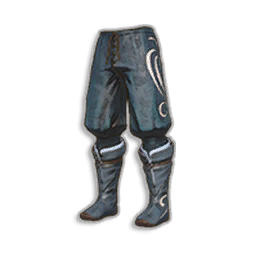 Leggings Of Lightness Leggings Of Lightness
|
N/A | N/A | N/A | N/A | N/A | N/A |
| Trinket | 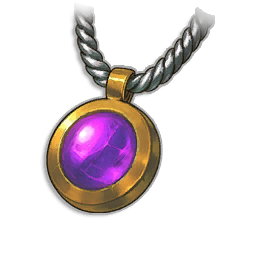 Amulet of Glory Amulet of Glory
|
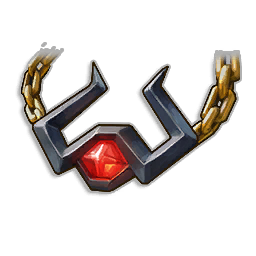 Unholy Symbol Unholy Symbol
|
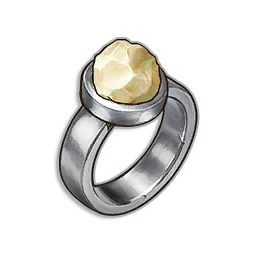 Inspiring Ring of Mining Inspiring Ring of Mining
|
N/A | N/A | N/A | N/A |
Tools:
- Pickaxe – Your main tool to train Mining
Armour Slots:
- Recommendation : Mage armour hat and or/ body – -50% Stamina Regen Delay for a single piece equipped. Can be mixed with other armour pieces of the player's prefered combat style.
- Although it is not mentioned in the table above, the suggested equipment can be replaced by any of their equivalent(s) (e.g., infinity armour = Lunar Garou armour). See this for a complete list.
- Leggings of lightness – Increases the player's maximum carry weight by 50 and reduces the amount of fall damage the player takes
Trinkets:
- Unholy symbol – +15% more damage on mining nodes
- Amulet of glory – +25% more damage on mining nodes
- Inspiring ring of Mining – +5% experience boost in Mining
- Due to the unique mechanics of Dragonwilds, the unholy symbol or amulet of glory might be preferred over the inspiring ring of Mining when not using the Rocksplosion spell. See down below.
Perks
| Category | Items progression (Late Game → Early Game) | |||
|---|---|---|---|---|
| Potions (Focused Mining I & II) | 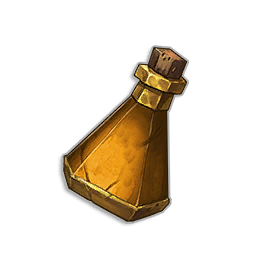 Super Focused Mining Potion Super Focused Mining Potion
|
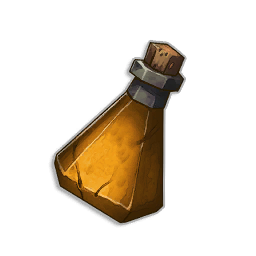 Focused Mining Potion Focused Mining Potion
|
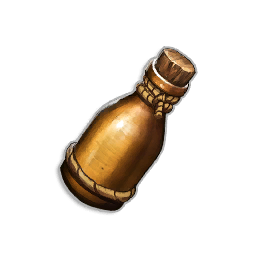 Lesser Focused Mining Potion Lesser Focused Mining Potion
|
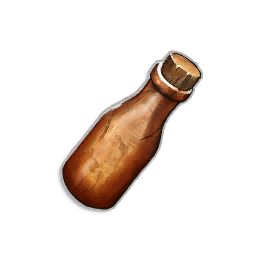 Weak Focused Mining Potion Weak Focused Mining Potion
|
| Drinks (Fleet Footed) | 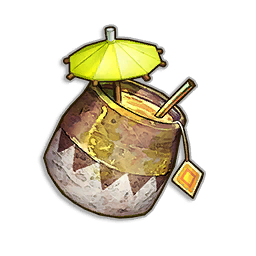 Cooling Fleet-Footed Infusion Cooling Fleet-Footed Infusion
|
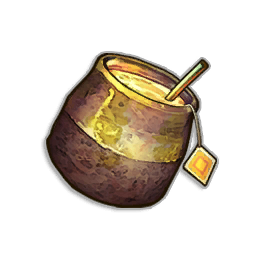 Fleet-Footed Infusion Fleet-Footed Infusion
|
N/A | N/A |
| Food (Knowledgable Nourishment + Foreman's Feast) | 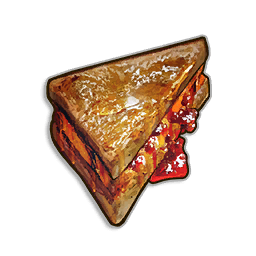 Glazed Pumpkin Sandwich Glazed Pumpkin Sandwich
|
 Meat Twist Sandwich Meat Twist Sandwich
|
N/A | N/A |
| Food (Knowledgable Nourishment) | 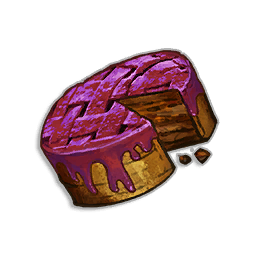 Wild Pie Wild Pie
|
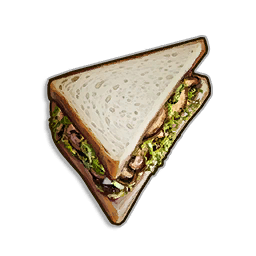 Forager's Sandwich Forager's Sandwich
|
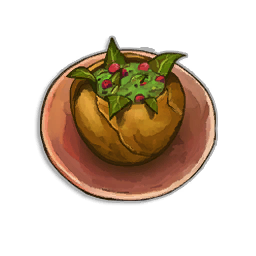 Sweet Veg Ball Sweet Veg Ball
|
N/A |
Food & potions perks:
- Knowledgable Nourishment – Increases the player's experience gain in all skills by 10%
- Foreman's Feast – Reduces the stamina cost of Mining by 33%
- Focused Mining – Increases the experience gained when training the Mining skill by 15%
- Focused Mining II – Increases the experience gained when training the Mining skill by 30%
- Fleet-footed infusion – Reduces the stamina cost of sprinting by 50%
*Perks: Food perks do NOT stack. Eating another food after consuming a different one overrides its perk(s) with the most recent food eaten. Potions behave like this as well; drinking a new potion will immediately overwrite your active potion buff. While players cannot layer multiple foods or multiple potions, one potion + one food perks can be stacked together simultaneously.
Spells
| Image | Spell | Benefit |
|---|---|---|

|
Rocksplosion | Conjure a powerful blast to break apart stone boulders and ore. |

|
Magical Mending | Very useful spell allowing the player to repair their pickaxes anywhere without a blacksmith's bench. |

|
Internal Alchemy | When used, it refreshes any active buffs from food or drink. This spell does not affect buffs received from potions or other perk-giving items aside from food and drink. |
|
Personal chest | Offers weightless storage for up to 1,980 ores and stones, massively increasing the duration of training trips. |
Miscellaneous
| Image | Item / structure | Benefit |
|---|---|---|
|
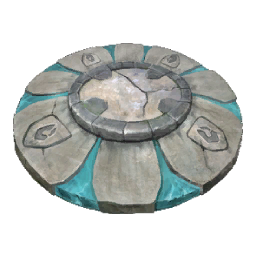
Lodestone | Can be built then used with law runes for fast travelling. Allows fast travel between ore nodes. |
|
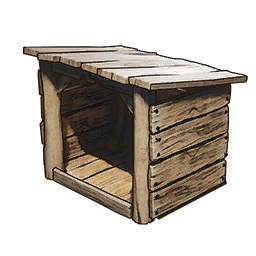
Ore & stone storage | Player-built massive storage for up to 4752 mining-related resources |
Example setup
General advices
While training Mining, players should generally follow regional progression and focus on gathering the highest-tier ore currently unlocked. However, upon reaching later regions like Dowdun Reach, a single region's mining nodes can be completely depleted, causing temporary downtime. To maintain efficient training when nodes are depleted, players should cycle back through previous regions and mine lower-tier nodes in descending order (e.g., Adamantite → Mithril → Coal). Cycling lower than coal is generally not recommended (or even possible) as the drastically reduced experience rates diminish the efficiency.
Players should cast Rocksplosion every time it refreshes to rapidly clear nodes. Although the spell (seems to?) apply a slight experience penalty per action, the sheer volume and speed of cleared ores and stones make it incredibly efficient.
It is possible to bring both a damage-boosting trinket and an experience-boosting one and swap between the two. When casting Rocksplosion, it is prefered to wear the inspiring ring of Mining for a slight experience boost, as the spell guarantees to destroy all the ores in one-shot.
Ores Routes
Copper and Tin
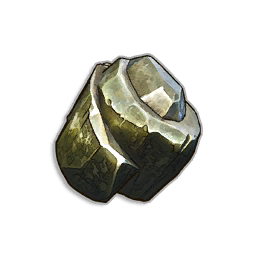
Iron 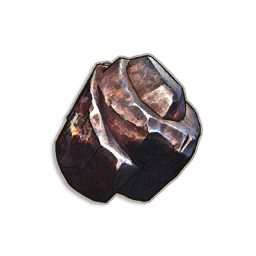
Coal 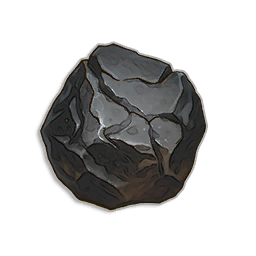
Mithril 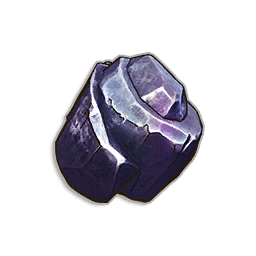
 Adamantite (+Gyspum and Coal)
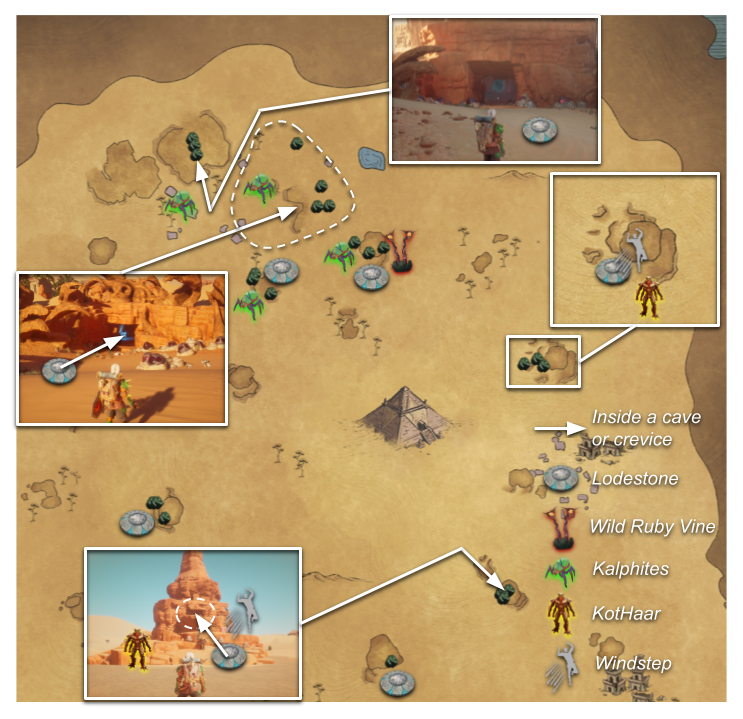
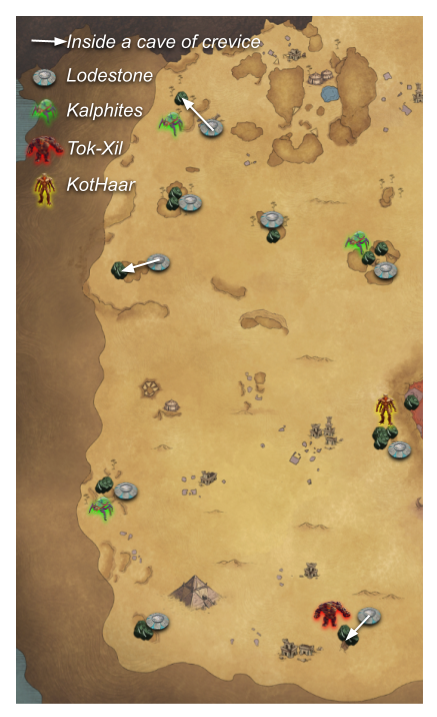
Once players unlock the massive desert of Umbral Sands, they gain access to Adamantite and Gypsum nodes. While these nodes offer the highest Mining experience per ore in the game, extracting them is a high-risk activity located in highly dangerous areas.
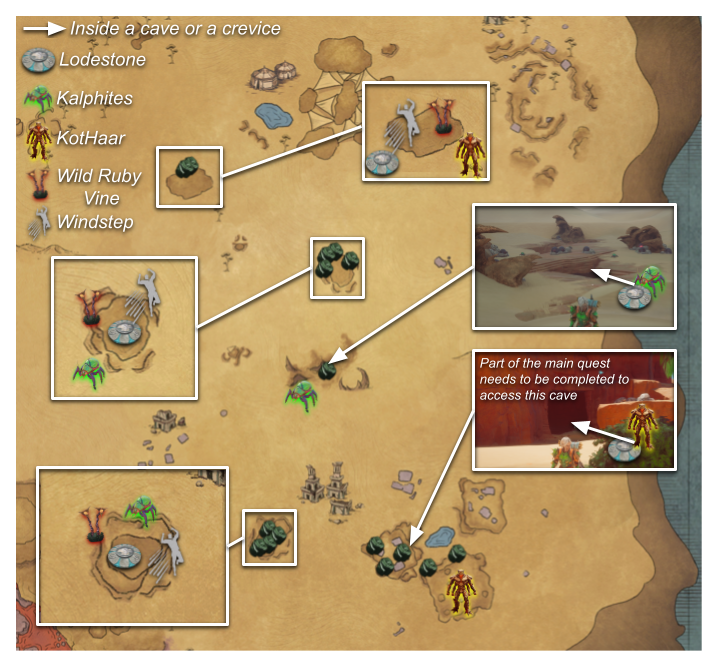
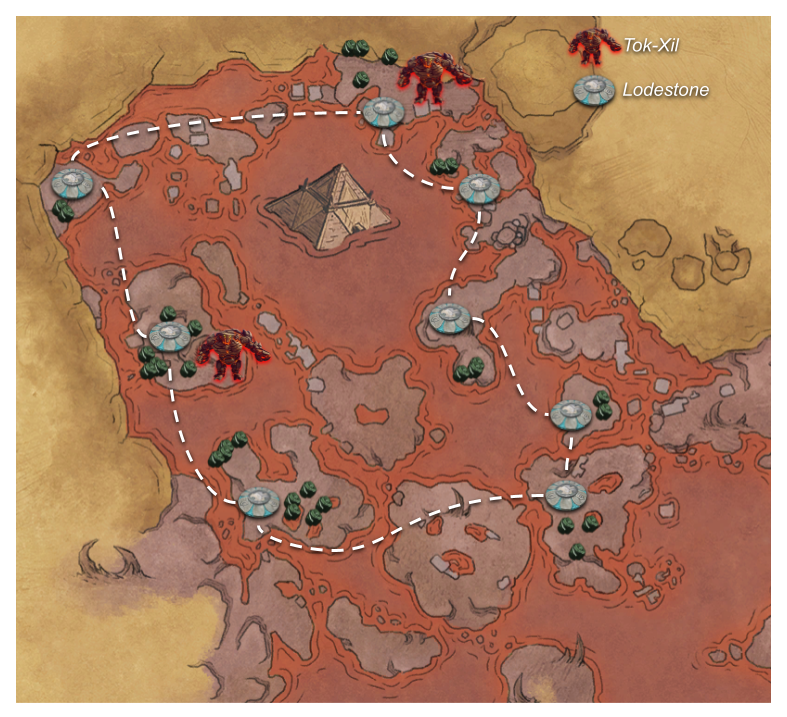
Mining in the desert requires careful preparation because the vast majority of node locations are swarming with high-level hostile mobs (KotHaar, red dragons, wild ruby vines, kalphites, and the inoffensive-looking goats!) putting players under constant aggression. Additionally, players must actively manage the environmental Scorch mechanic to survive prolonged trips.
Because several gypsum and coal nodes spawn in close proximity to Adamantite nodes, the most efficient strategy is to focus primarily on Adamantite and harvest nearby gypsum and coal as secondary resources while in the area. Players should not go out of their way to solely mine gypsum and coal for training purposes. Despite the high danger and environmental hazards, the experience yield makes mining in the desert well worth the effort.
Note that the desert robes and cooling drinks can prove useful while skilling in the desert, though players should keep in mind that the robes offer very little defensive bonuses.
A good strategy for well-geared players is to clear the mobs along the critical paths first. Eliminating these threats makes mining smoother and prevents interruptions. While this requires strong combat gear, it allows players to mine nodes with far less interference.
The annotated maps on the sides may be difficult to read for players unfamiliar with the Umbral Sands region due to the amount of information they contain. See the blank version here, or the adamantite ore node map here.
Misc. Routes
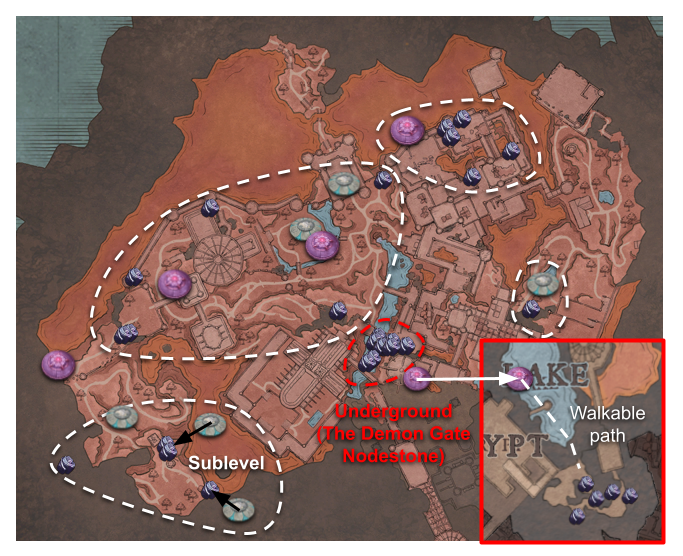
Dowdun Reach - The Demon Gate
Dowdun Reach - The Lake
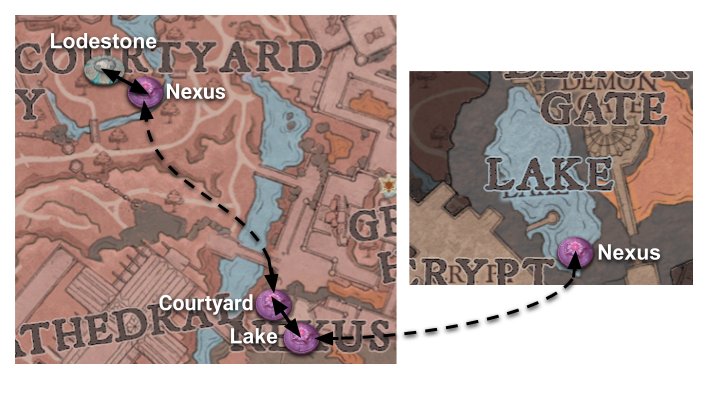
First accessed during the Black Knight's Fortress quest, The Lake contains a huge variety of mining nodes such as silver, gold, coal and limestone. Players can build a lodestone right next to the nodestone in The Courtyard for easy access to the nodestone network. Note that each nodestone needs to be activated before being able to use them from the Nexus. See this.
Źródło: Zobacz na oficjalnej wiki (Treść pochodzi z RuneScape Wiki, CC BY-NC-SA 3.0)